Send an email - Temporal.io based Worker
This tutorial in a nutshell
With this guide we will build a simple Temporal-based Worker in Java language that will show the key aspects of a KuFlow integration. Our example will model a Workflow whose purpose is to send an email using the information that a user completes within a task in the application.
Together with the construction of the worker, it is necessary to register it in KuFlow and configure the permissions that you consider appropriate. In this tutorial we will focus on the implementation of the Worker and we will name in a schematic way the necessary configurations to be made by the user in the application.
Prerequisites
Before starting our Worker for the first time, we must register it in KuFlow (app.kuflow.com). After familiarizing yourself with the user interface, you are ready to perform the necessary configurations for our Worker. To do so, click on the Settings menu. If you do not see this menu, you probably do not have the necessary permissions to define processes, so you will have to request it from your Organization administrators, or simply create a FREE new account.
Create the credentials for the Worker
We will configure an APPLICATION that will provide us with the necessary credentials so that different external systems can interface with KuFlow, in this example, the necessary credentials for our Worker.
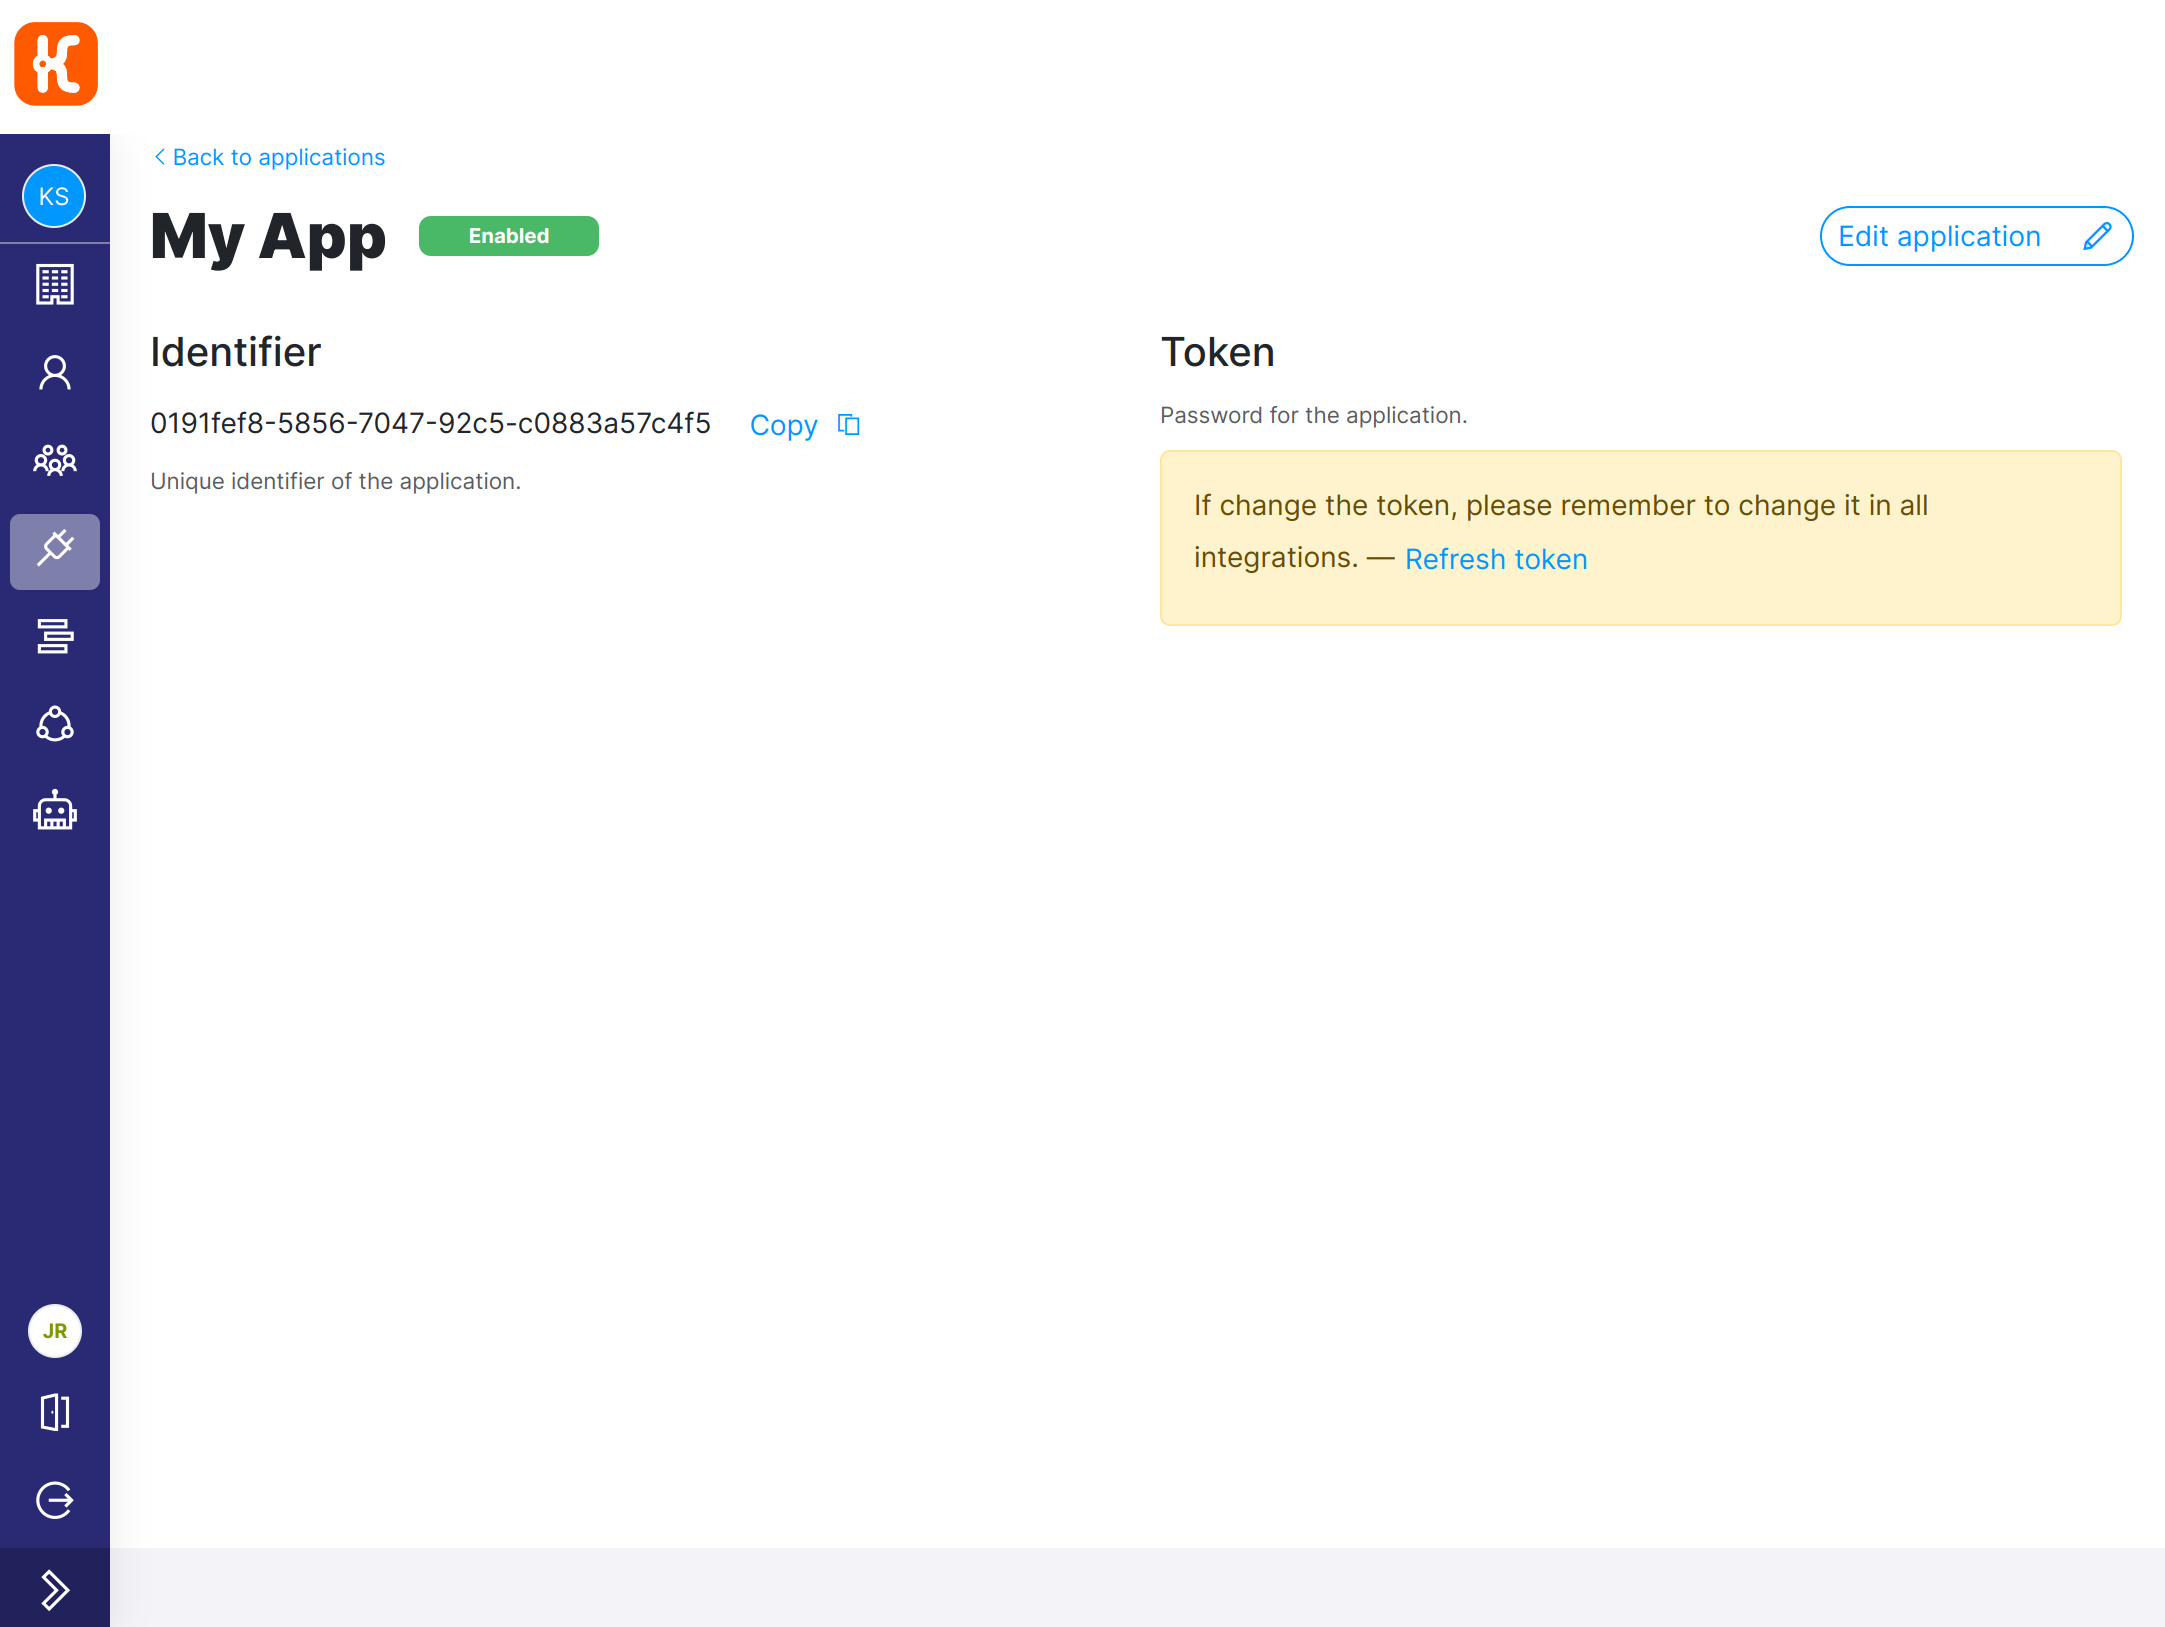
Go to the Settings > Applications menu and click on Add application. We establish the name we want and save. Next, you will get the first data needed to configure our Worker.
- Identifier: Unique identifier of the application.
- Later in this tutorial, we will configure it in the
kuflow.api.client-idproperty of our example.
- Later in this tutorial, we will configure it in the
- Token: Password for the application.
- Later in this tutorial, we will configure it in the
kuflow.api.client-secretproperty of our example.
- Later in this tutorial, we will configure it in the
Finally, you get something like:
Create the process definition
We need to create the definition of the process that will execute our Workflow. In this section we will configure the KuFlow tasks of which it is made up as well as the information necessary to complete said tasks, the process access rules (i.e. RBAC), as well as another series of information. To do this we go to the Setting > Processes menu and create a new process.
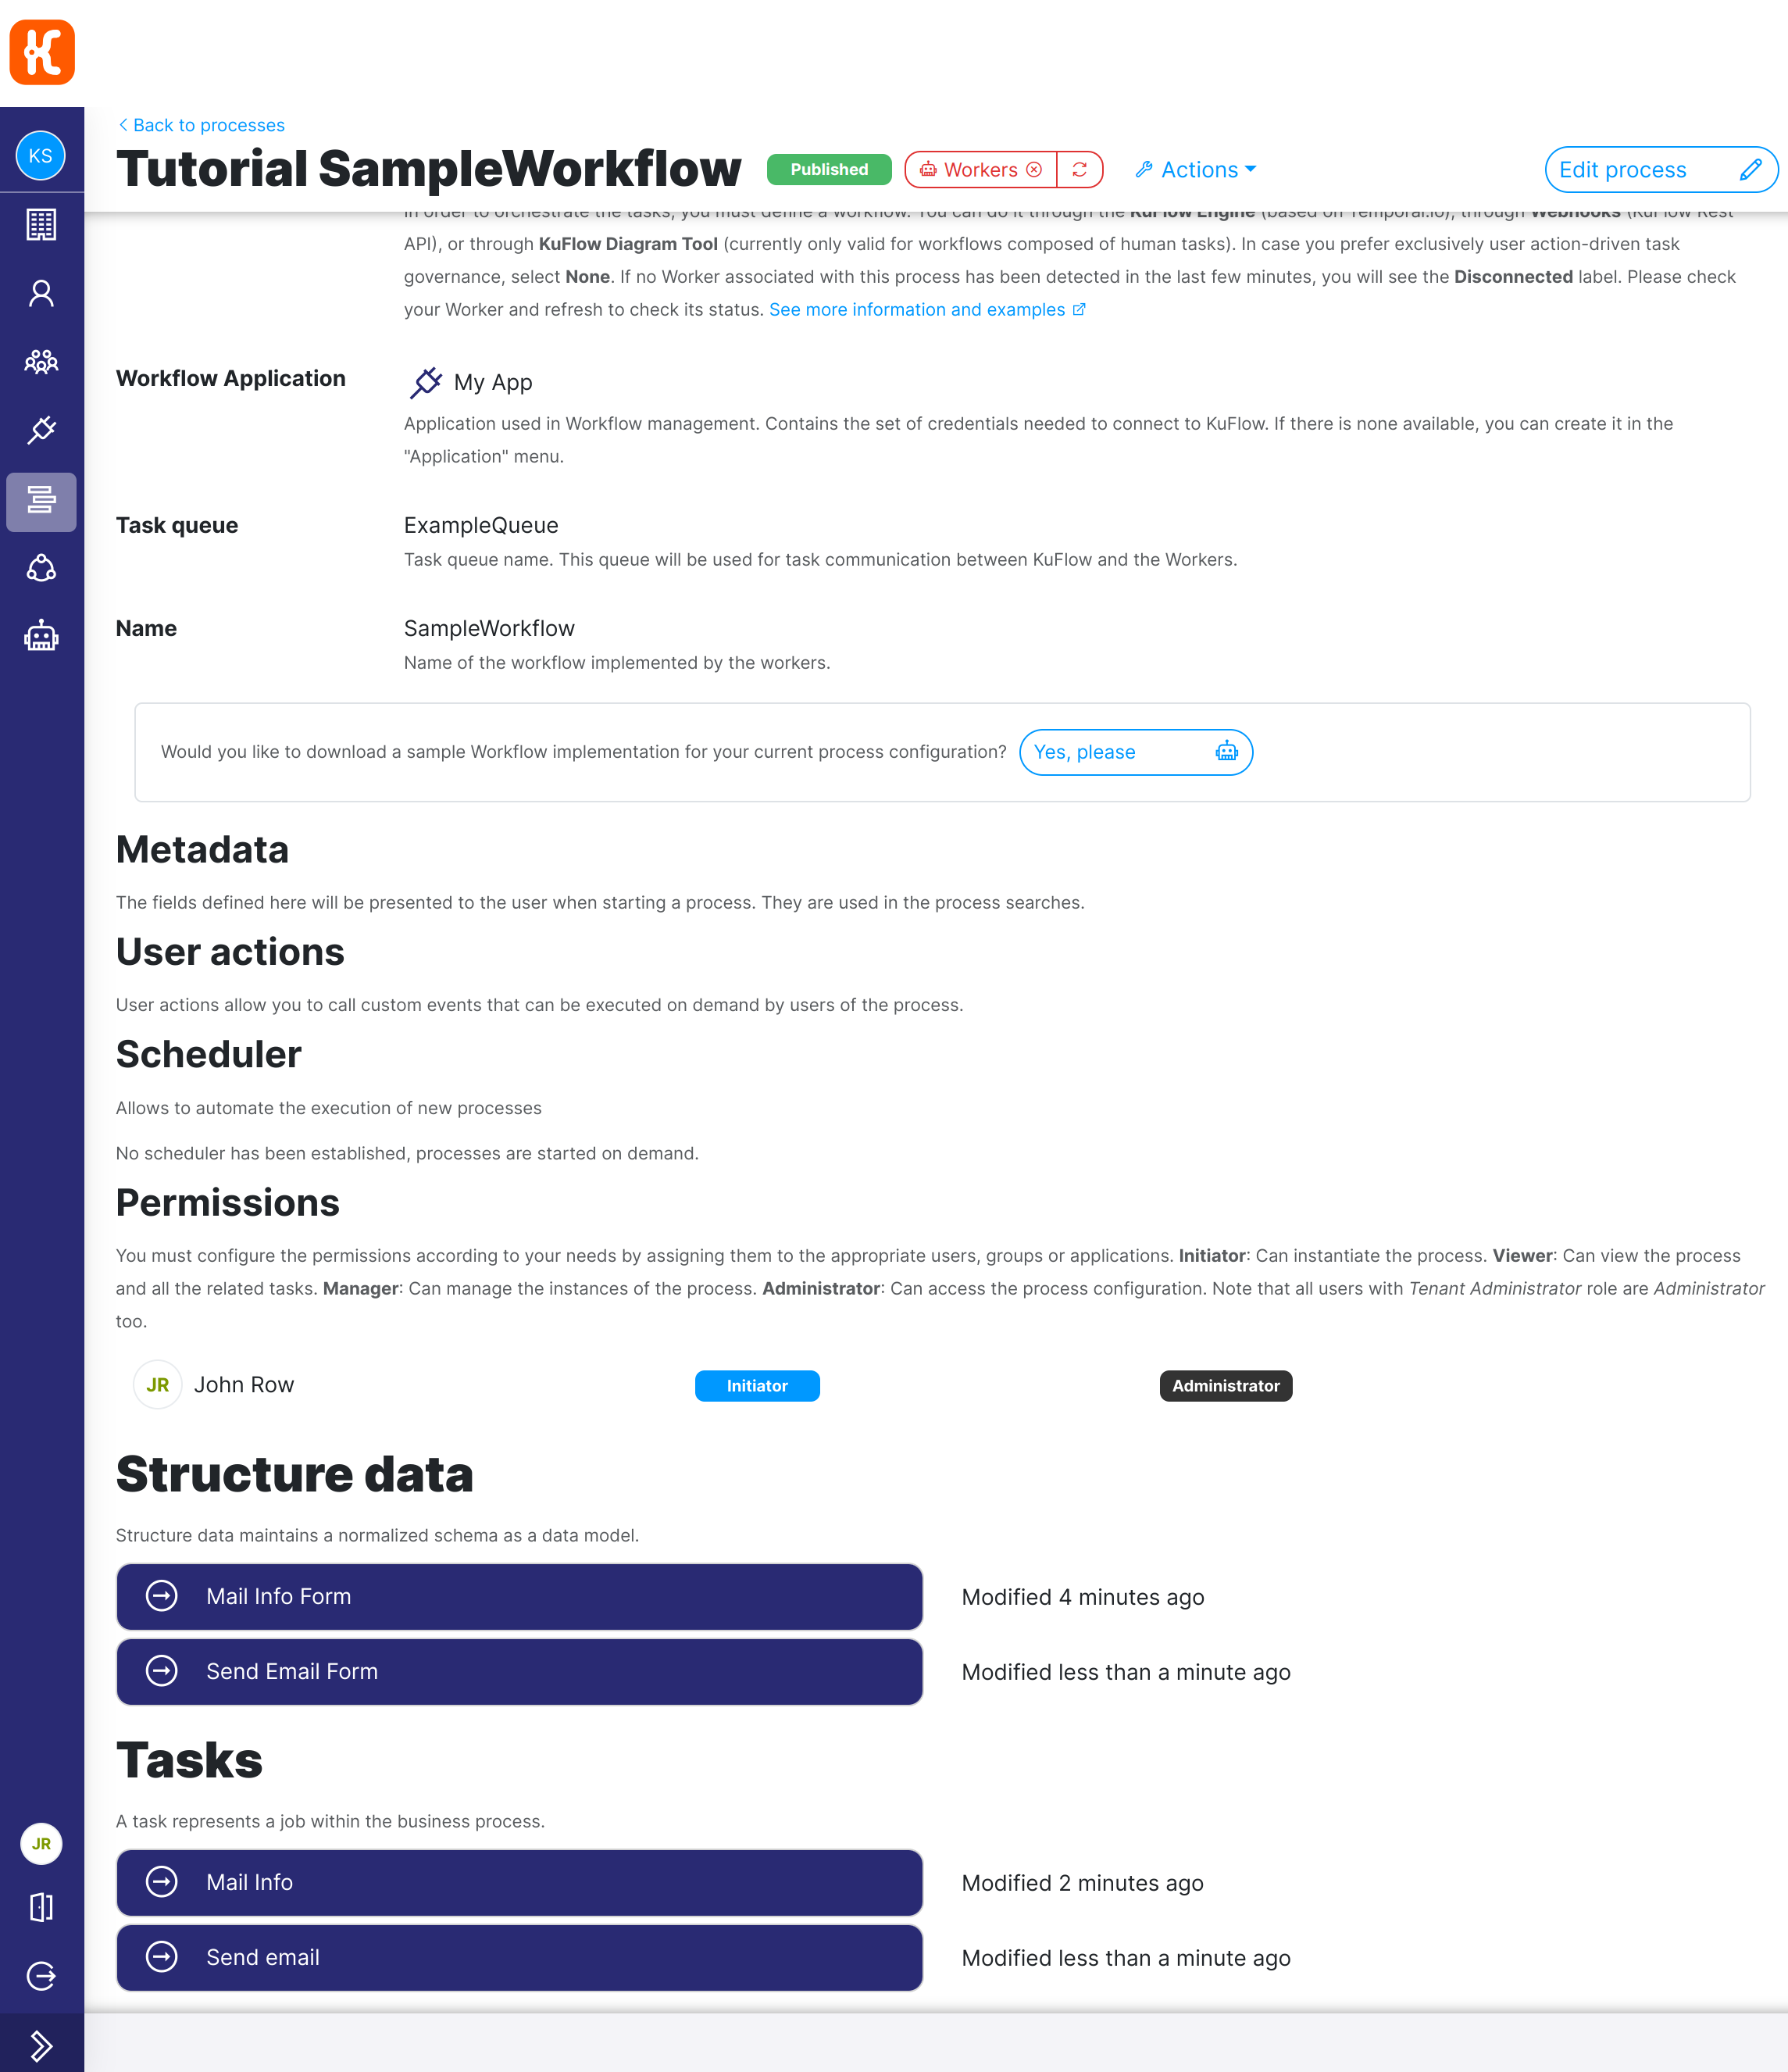
A Process Definition with the following data:
- Description
- Free text description about the Workflow.
- Workflow
- Workflow Engine
- KuFlow Engine, because we are designing a Temporal-based Worker.
- Workflow Application
- The application to which our Worker will connect to
- Task queue
- The name of the Temporal queue where the KuFlow tasks will be set. You can choose any name, later you will set this same name in the appropriate configuration in your Worker. For example:
ExampleQueue.
- The name of the Temporal queue where the KuFlow tasks will be set. You can choose any name, later you will set this same name in the appropriate configuration in your Worker. For example:
- Name
- It must match the name of the Java interface of the Workflow. In our example,
SampleWorkflowis the name you should type in this input.
- It must match the name of the Java interface of the Workflow. In our example,
- Workflow Engine
- Permissions
- At least one user or group of users with the role of
INITIATORin order to instantiate the process through the application.- Optional: In order to view administrative actions in the GUI, it may interesting to set the
Managerrole as well for some user.
- Optional: In order to view administrative actions in the GUI, it may interesting to set the
- At least one user or group of users with the role of
Finally, you get something like:
Two Structure Definitions with the following data:
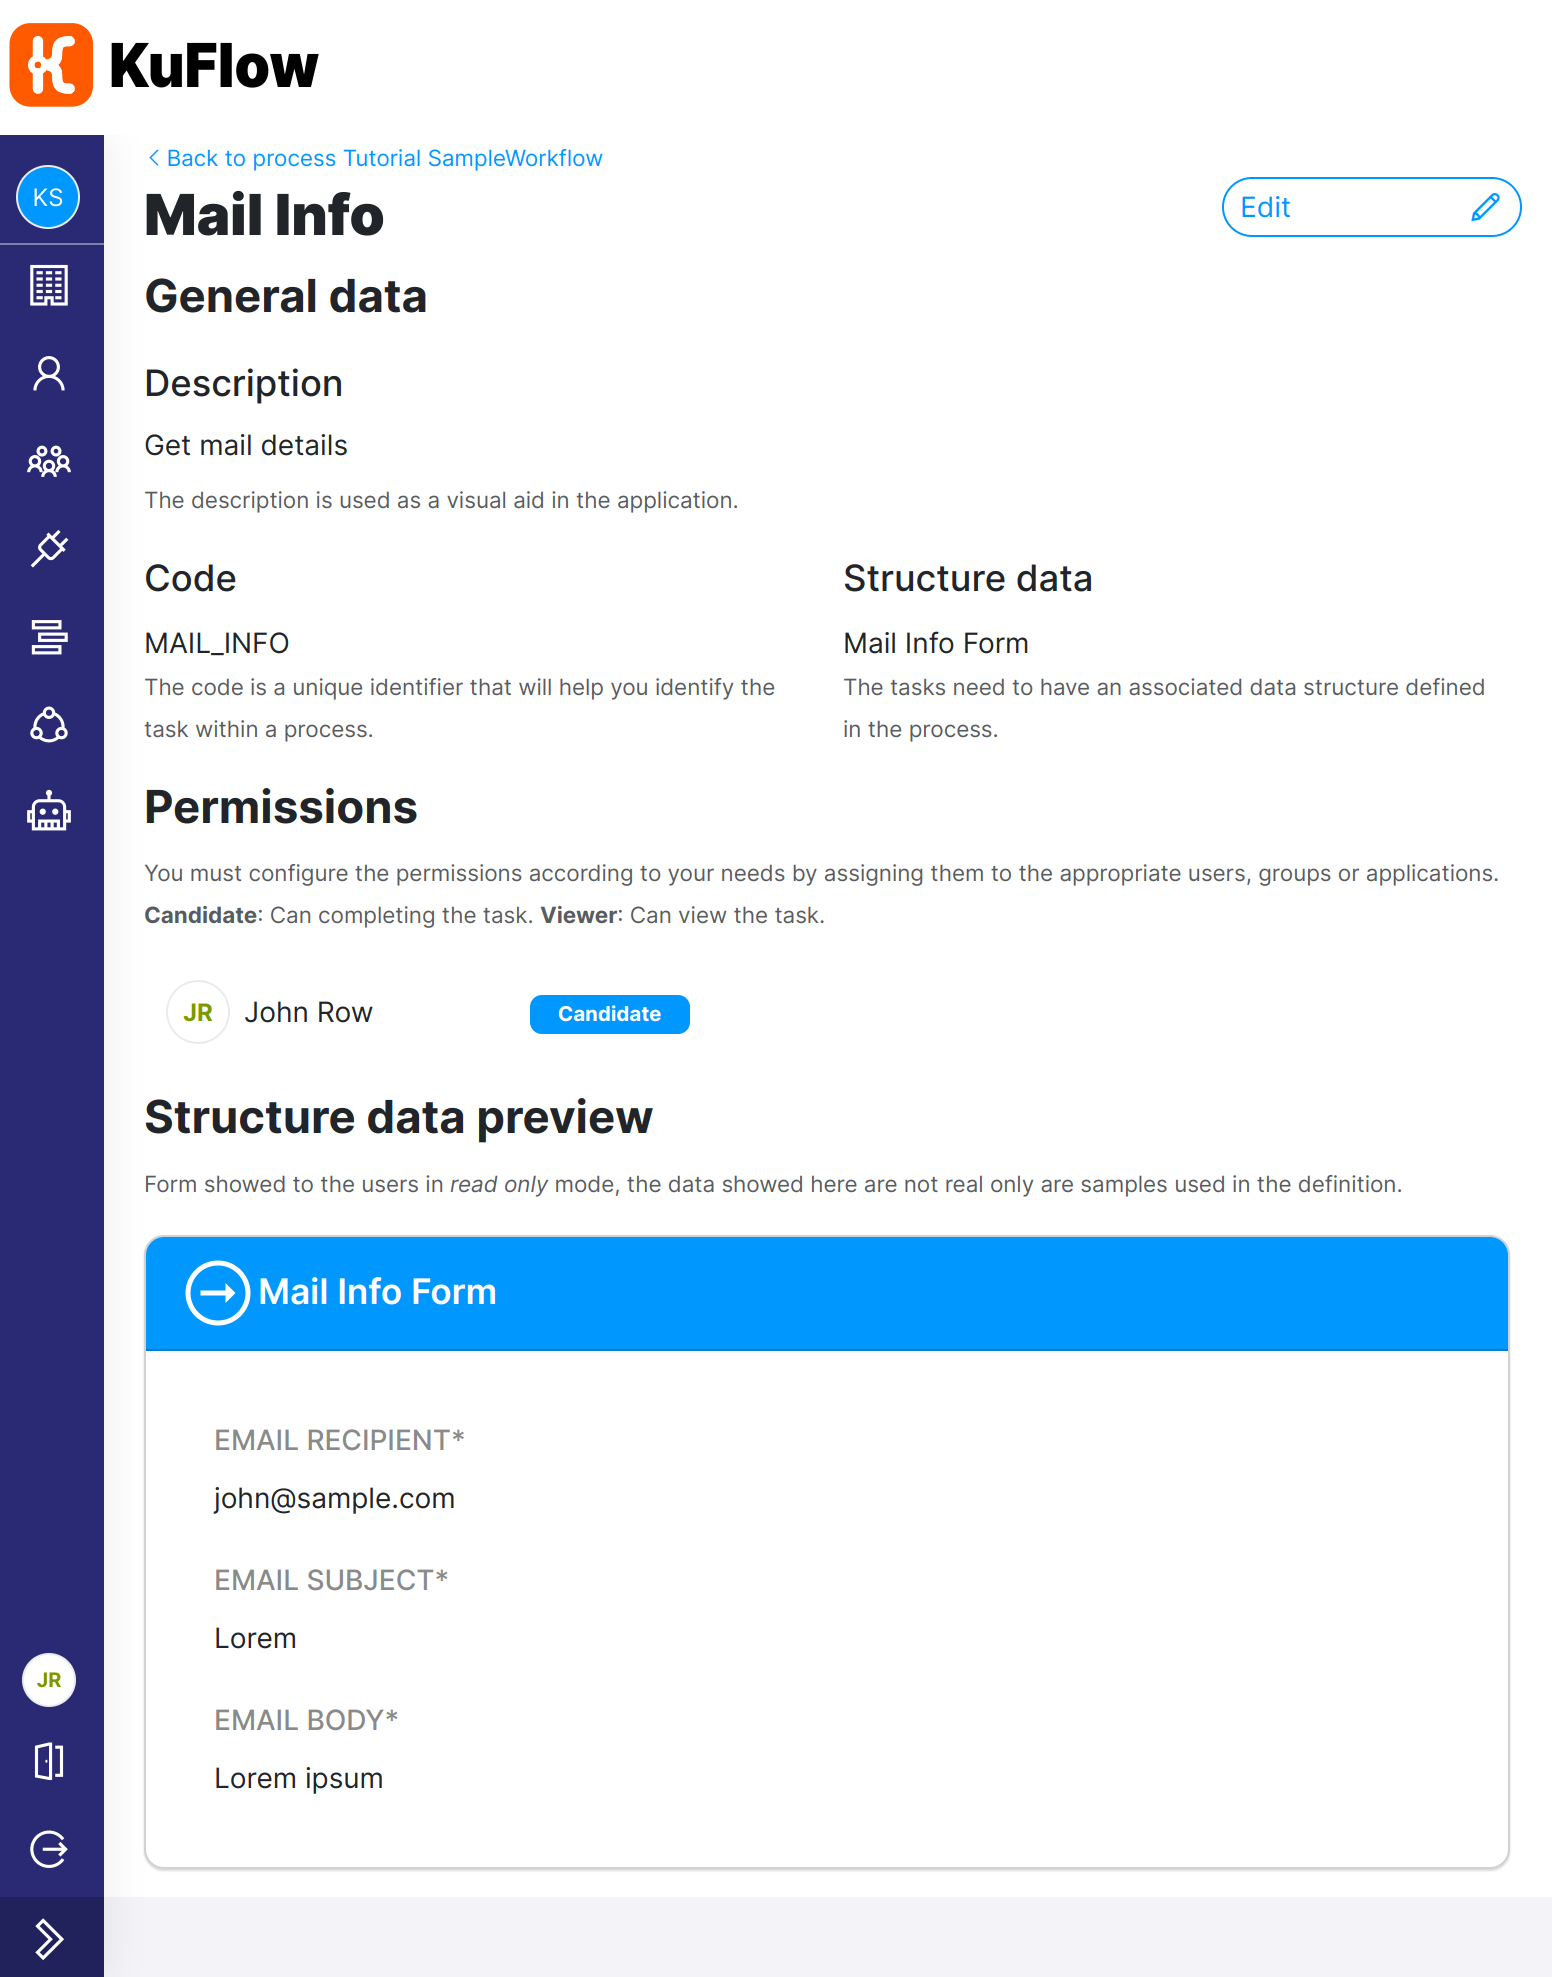
- Structure definition Mail Info Form
- Code: SD_MAIL
- Form Schema:
{
  "title": "A form",
  "description": "A simple form example",
  "type": "object",
  "properties": {
    "EMAIL_RECIPIENT": {
      "type": "string",
      "format": "email"
    },
    "EMAIL_SUBJECT": {
      "type": "string"
    },
    "EMAIL_BODY": {
      "type": "string"
    }
  },
  "required": [
    "EMAIL_RECIPIENT",
    "EMAIL_SUBJECT",
    "EMAIL_BODY"
  ]
} - UI Schema:
{
  "type": "VerticalLayout",
  "elements": [
    {
      "type": "Control",
      "scope": "#/properties/EMAIL_RECIPIENT"
    },
    {
      "type": "Control",
      "scope": "#/properties/EMAIL_SUBJECT"
    },
    {
      "type": "Control",
      "scope": "#/properties/EMAIL_BODY",
      "options": {
        "multi": true
      }
    }
  ]
} - Image:
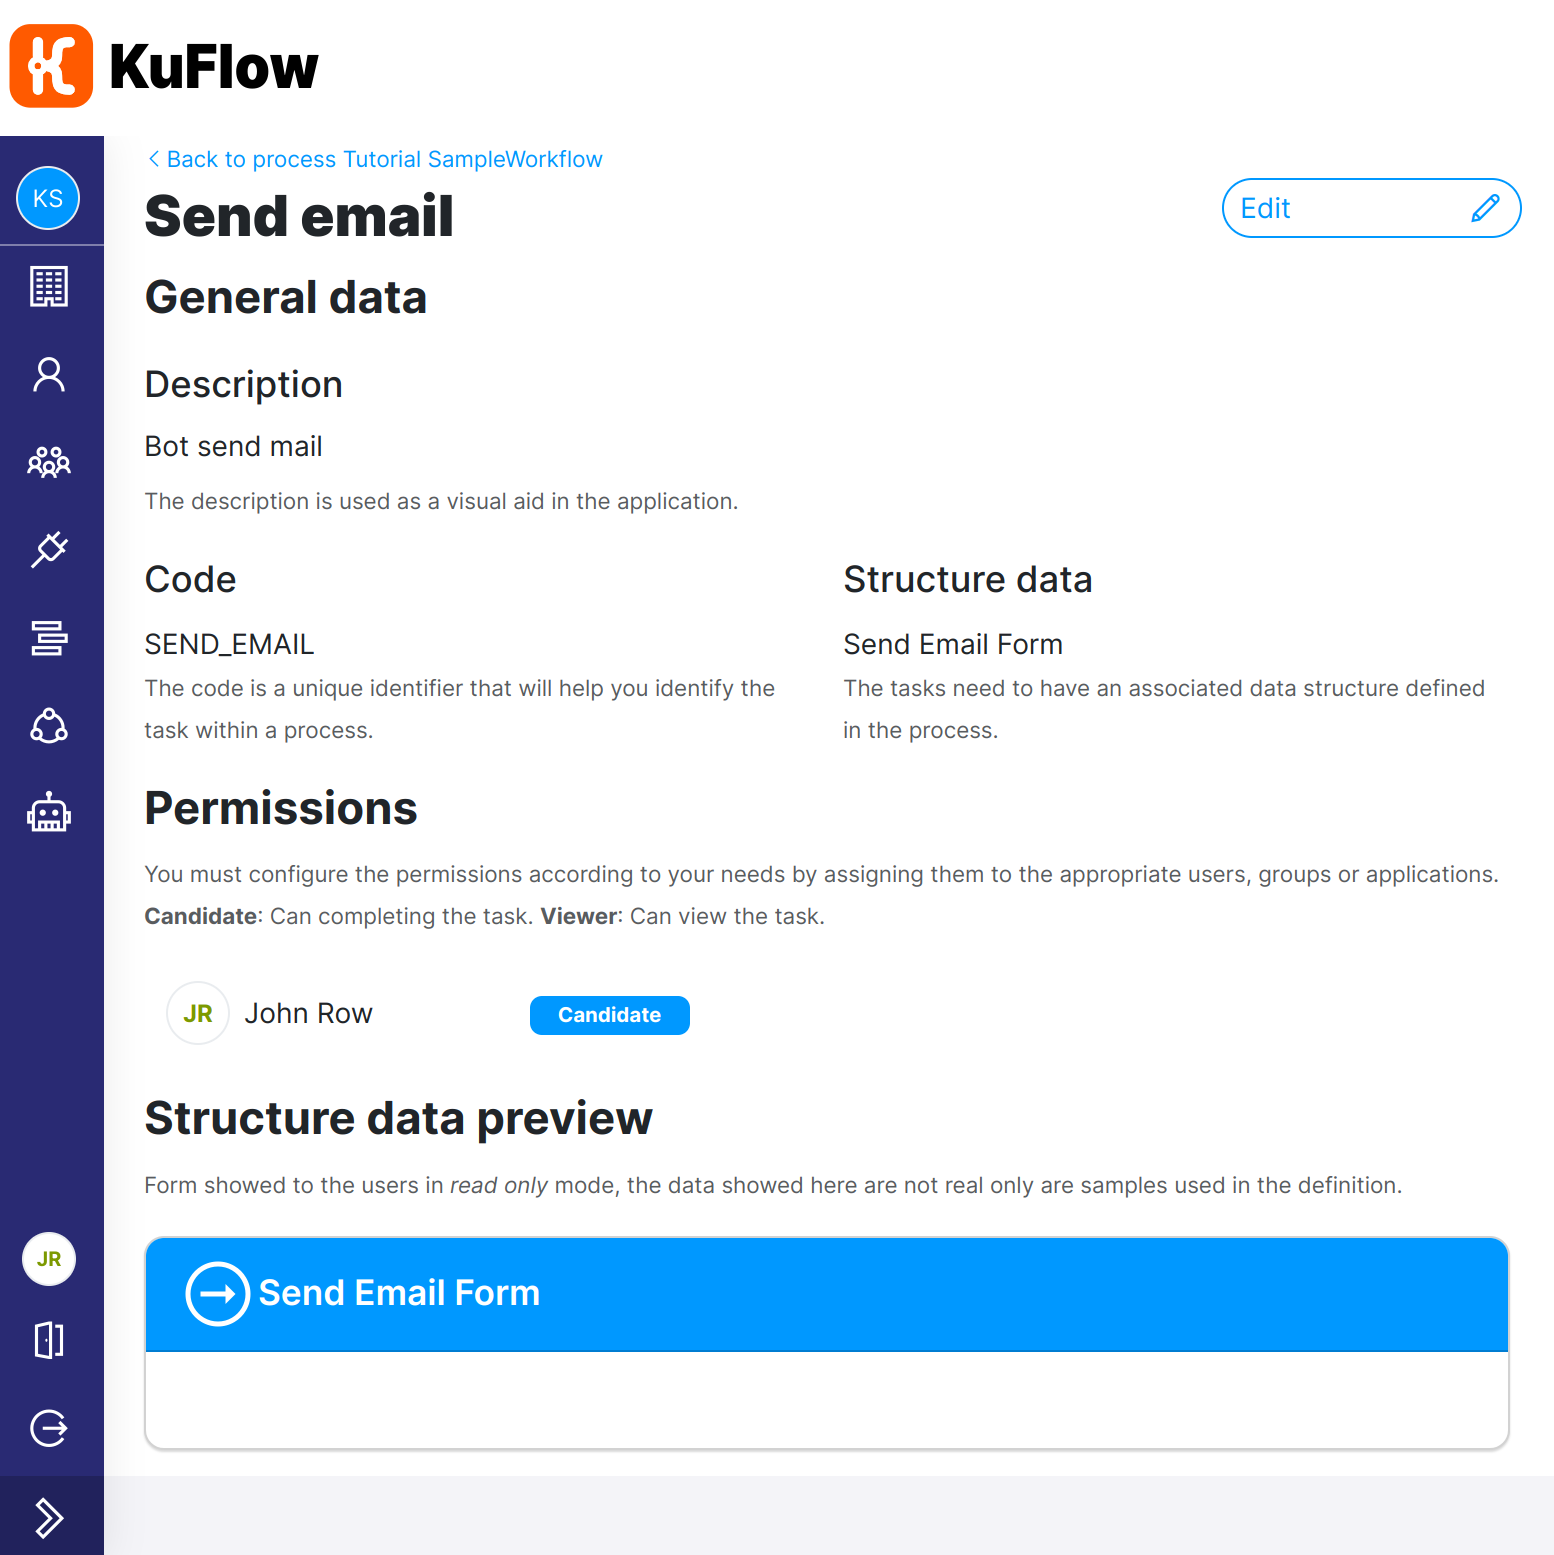
- Structure definition Send Email Form
- Code: SD_SEND_EMAIL
- Form Schema: < -- empty -- >
- UI Schema: < -- empty -- >
- Image:
Two Tasks Definitions in the process with the following data:
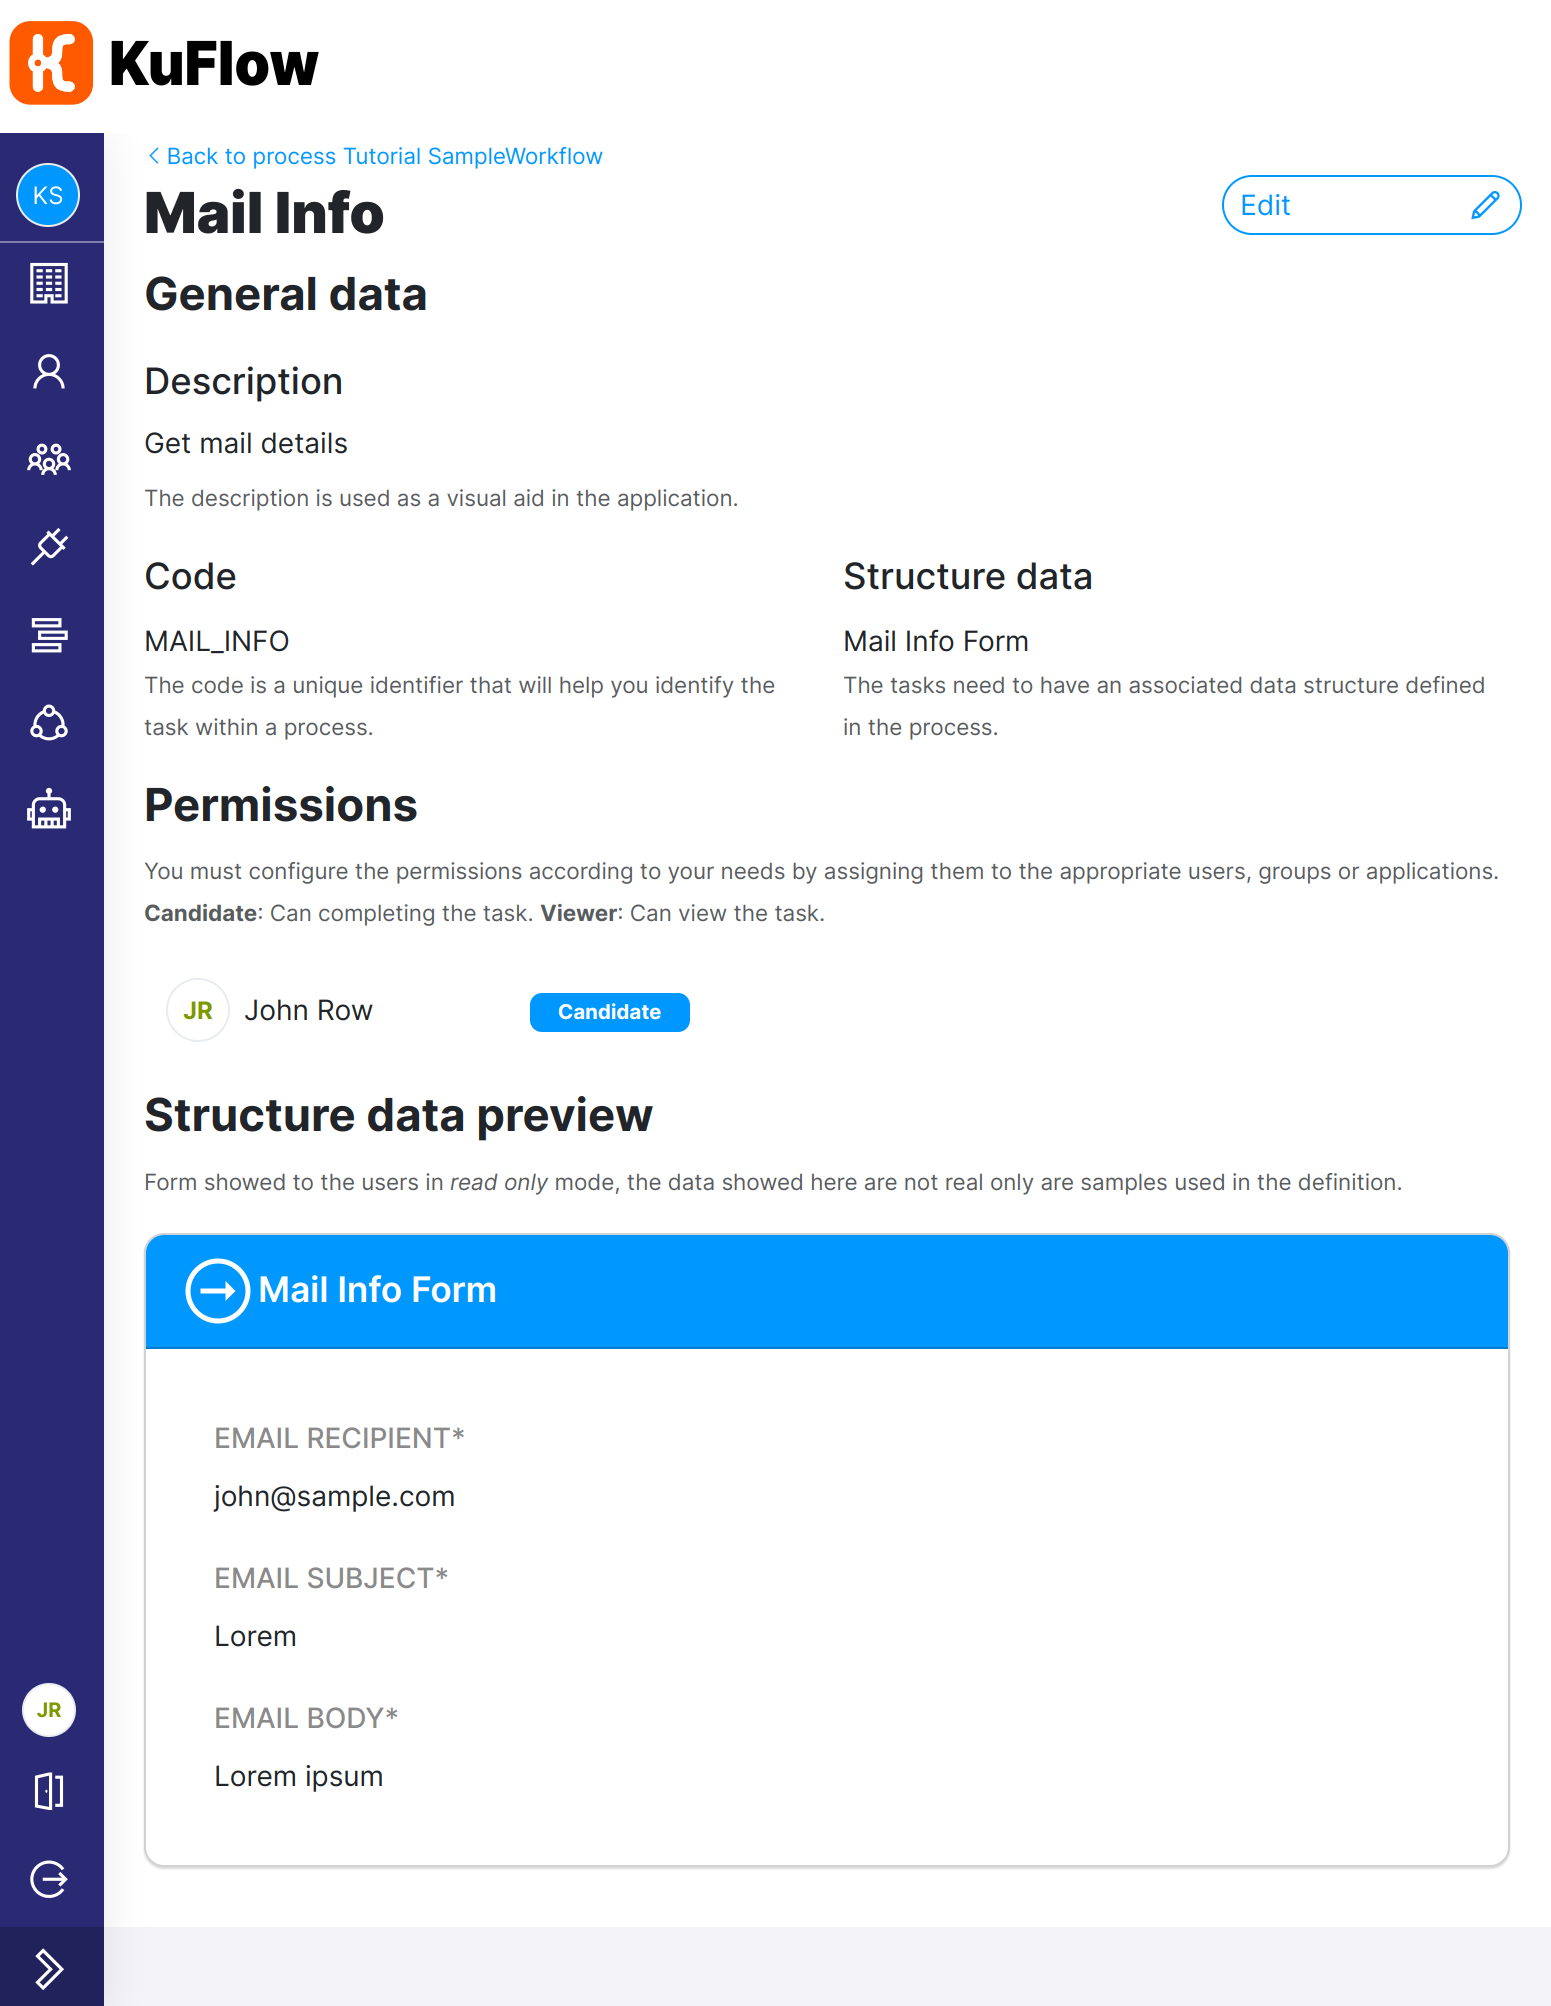
- Task "Mail Info"
- Description: Get mail details.
- Code: FILL_INFO
- Candidates:
- At least one possible user or group of users who will be in charge of completing the task.
- Data structure: Mail Info Form
- Image:
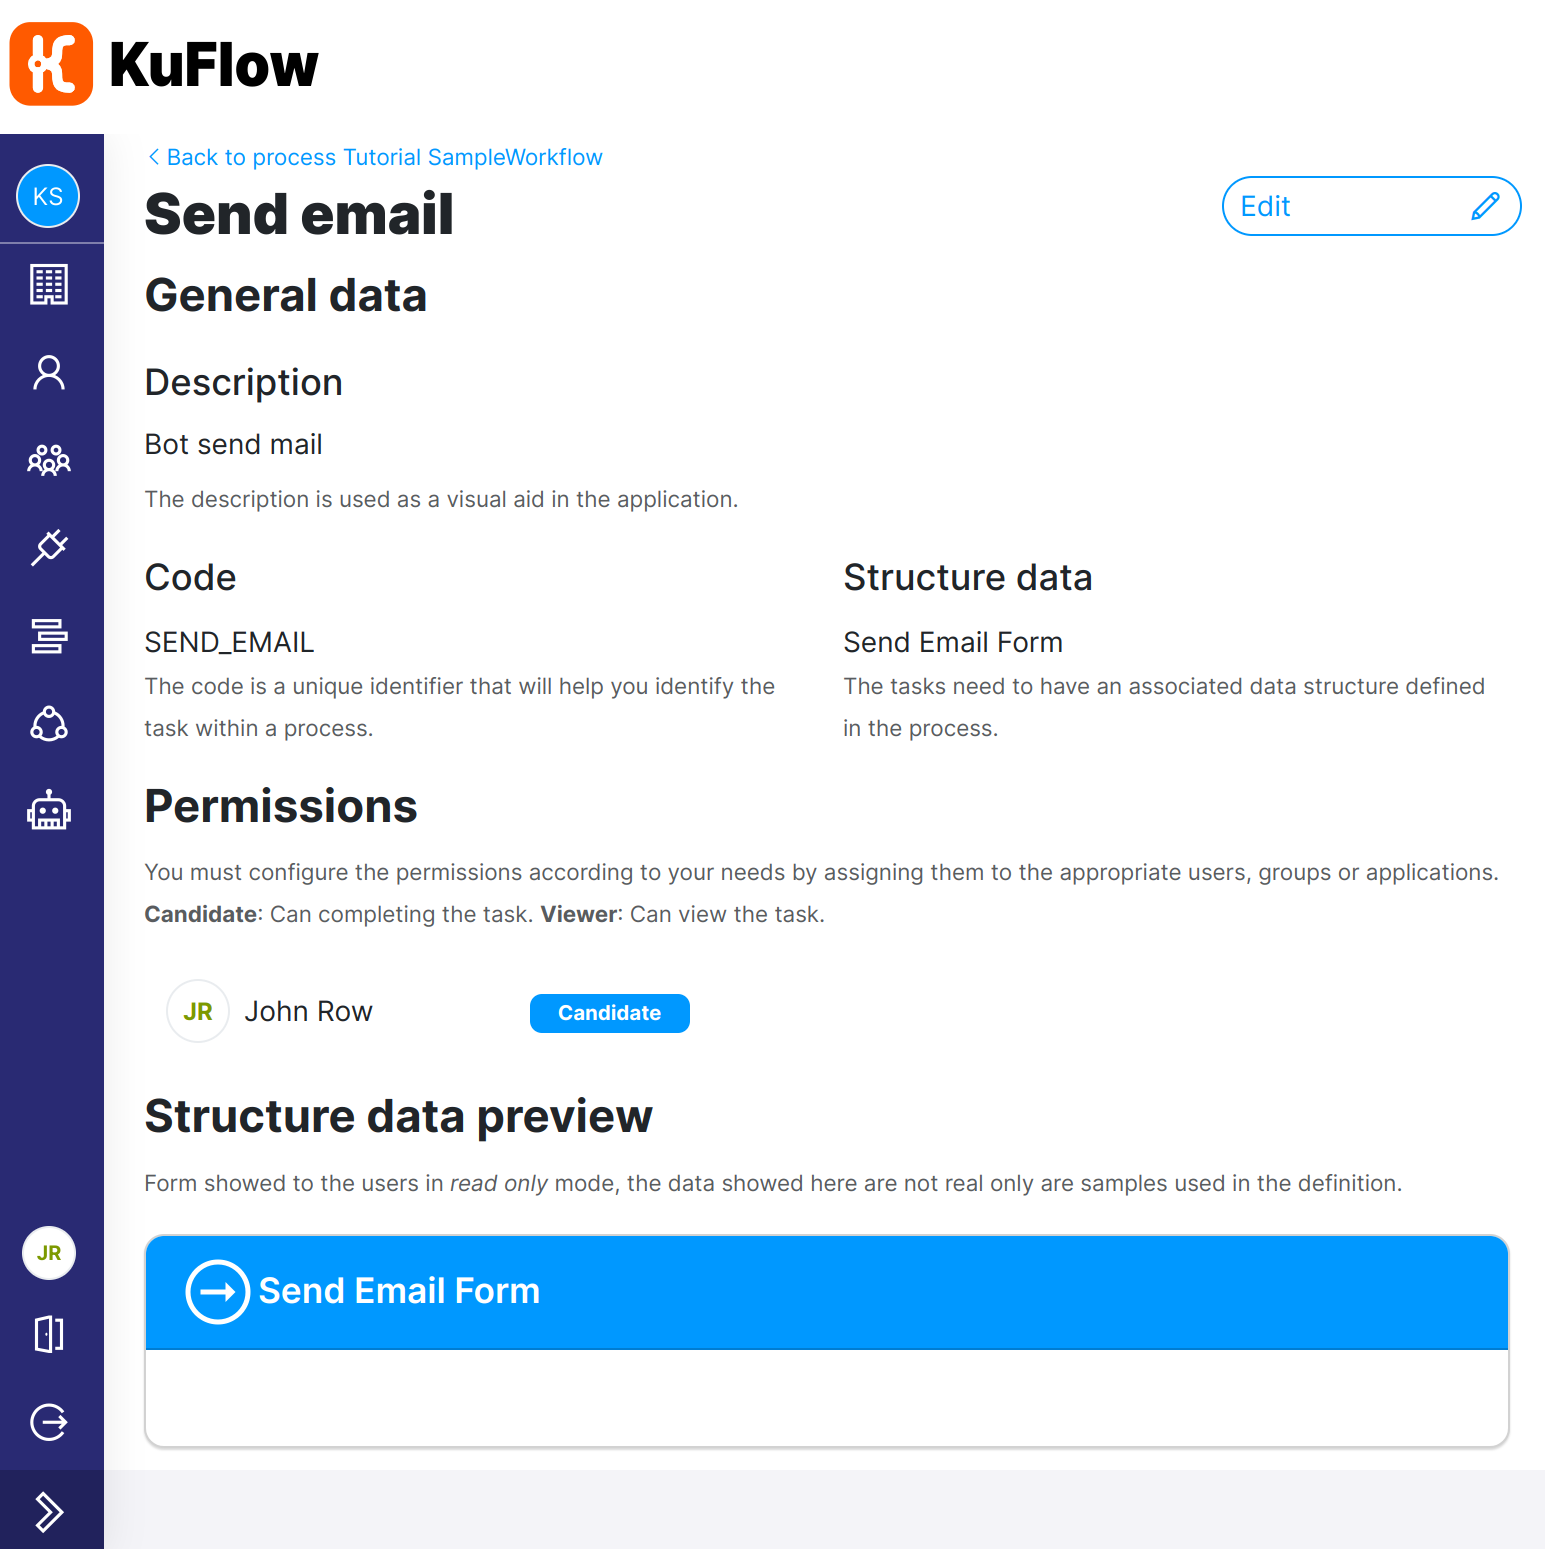
- Task "Send email"
- Description: Free text description about the Task.
- Code: SEND_EMAIL
- Candidates:
- Set the application that represents our worker.
- Image:
Source code for our Worker
The source code for this example can be obtained from our java examples repository
You can always inspect the source code in our repository, however, an alternative methodology could be to download the example template code for the process we are going to implement and compare it with the complete example in our repository. To download the initial template you must access the workflow definition in the App, and once configured, use the download template option.
Main technologies used in the example
The source code of this tutorial is available in our GitHub so you can clone it or directly download the zip.
-
Java JDK
-
Maven
- To build the example. It is distributed in an integrated way so it is not necessary to install it in isolation.
-
Spring Boot and Spring Cloud
- To wire all our integrations.
-
Thymeleaf
- As a template engine for our email.
-
IDE
-
An IDE with good Java support is necessary to work comfortably. You can use VSCode, IntelliJ Idea, Eclipse or any other with corresponding Java plugins.
-
Docker and Compose
-
In this example we will use Docker to create a container with a small SMTP test server. If you prefer, you can skip this step and use directly the configuration of an email server such as Gmail or any other.
To make things simpler, the following dependencies have been used in our example:
- KuFlow Java SDK
- Provide some activities and utilities to work with KuFlow.
- Temporal Java SDK
- To perform GRPC communications with the KuFlow temporal service.
Implementation details
The workflow
The entry point to the Workflow execution is determined by the @WorkflowMethod annotation, in our code the main method would be the following:
SampleWorkflowImpl.java
@Override
public WorkflowResponse runWorkflow(WorkflowRequest workflowRequest) {
    UUID processId = workflowRequest.getProcessId();

    ProcessItem processItemFillInfo = this.createProcessItemFillInfo(processId);

    this.createAutomaticTaskSendEmail(processId, taskFillInfo);

    return this.completeWorkflow(workflowRequest);
}
The structure is very simple:
- Create a KuFlow Process Item to complete the information required to send the email.
- Create a KuFlow Process Item to perform the email delivery
- Report completed Workflow.
Each of these blocks, executes one or more Temporal activities that perform the necessary logic. For example, let's focus on the Workflow function createAutomaticTaskSendEmail. Its implementation uses several activities:
- Create process item task
- Claim the process item
- Send an email from data that is collected from a previous task
- Add feedback to the automatic process item task for display in the KuFlow app
- Complete the process item task
private void createAutomaticTaskSendEmail(UUID processId, ProcessItem infoProcessItem) {
    UUID processItemId = KuFlowWorkflow.generateUUIDv7();

    ProcessItemTaskCreateParams createTaskRequest = new ProcessItemTaskCreateParams();
    createTaskRequest.setTaskDefinitionCode(TaskDefinitionCode.SEND_EMAIL.name());

    ProcessItemCreateRequest createRequest = new ProcessItemCreateRequest();
    createRequest.setId(processItemId);
    createRequest.setProcessId(processId);
    createRequest.setType(ProcessItemType.TASK);
    createRequest.setTask(createTaskRequest);

    // Create Automatic Task in KuFlow
    this.createProcessItemAndWaitCompleted(createRequest);

    // Claim Automatic Task: Our worker will be responsible for its completion.
    ProcessItemTaskClaimRequest claimRequest = new ProcessItemTaskClaimRequest();
    claimRequest.setProcessItemId(processItemId);
    this.kuFlowActivities.claimProcessItemTask(claimRequest);

    Map<String, Object> infoProcessItemData = infoProcessItem.getTask().getData().getValue();

    // Get values from Info Task
    Email email = new Email();
    email.setTemplate("email");
    email.setTo(infoProcessItemData.get(FormPropertyCode.EMAIL_RECIPIENT.name()).toString());
    email.addVariables("subject", infoProcessItemData.get(FormPropertyCode.EMAIL_SUBJECT.name()).toString());
    email.addVariables("body", infoProcessItemData.get(FormPropertyCode.EMAIL_BODY.name()).toString());

    // Add some logs to Kuflow task in order to see feedback in Kuflow app
    this.addLogInfo(processItemId, "Sending email to " + email.getTo());

    // Send a mail
    SendMailRequest sendMailRequest = new SendMailRequest();
    sendMailRequest.setEmail(email);
    this.emailActivities.sendMail(sendMailRequest);

    // Add some logs to Kuflow task in order to see feedback in Kuflow app
    this.addLogInfo(processItemId, "Email sent!");

    // Activity Complete
    ProcessItemTaskCompleteRequest completeRequest = new ProcessItemTaskCompleteRequest();
    completeRequest.setProcessItemId(processItemId);
    this.kuFlowActivities.completeProcessItemTask(completeRequest);
}
The worker
We will use two facades of activities from our component catalog to implement the activities that perform the communication with the KuFlow REST API and the email sending activities. These activities along with the implemented Workflow, we register them in the Temporal bootstrap class.
TemporalBootstrap.java
private void startWorkers() {
    this.kuFlowTemporalConnection.configureWorker(builder ->
            builder
                .withTaskQueue(this.sampleEngineWorkerEmailProperties.getTemporal().getKuflowQueue())
                .withWorkflowImplementationTypes(SampleWorkflowImpl.class)
                .withActivitiesImplementations(this.kuFlowActivities)
                .withActivitiesImplementations(this.emailActivities)
        );

    this.kuFlowTemporalConnection.start();
}
Worker configuration
The last step of this section is filling up the application configuration information. You must complete all the settings and replace the example values. The appropriate values can be obtained from the KuFlow application. Check out the Create the credentials for the Worker section of this tutorial.
# ===================================================================
# PLEASE COMPLETE ALL CONFIGURATIONS BEFORE STARTING THE WORKER
# ===================================================================
 kuflow:
  api:
    # ID of the APPLICATION configured in KUFLOW.
    # Get it in "Application details" in the Kuflow APP.
    client-id: FILL_ME

    # TOKEN of the APPLICATION configured in KUFLOW.
    # Get it in "Application details" in the Kuflow APP.
    client-secret: FILL_ME

temporal:
  # Temporal Queue. Configure it in the "Process definition" in the KUFLOW APP.
  kuflow-queue: "ExampleQueue"
Please note that this is a YAML, respect the indentation.
We can test this scenario, initiating the process several times, in order to create different applications and approvals
Others configurations
The rest of the mandatory settings have been filled in for you in the application.yml file. You don't have to edit them unless you need to customize some settings, for example the SMTP server used to send our test email.
If you want to use the FakeSMTP server configured via the supplied docker-compose file, you won't have to modify anything else in this file. If instead you want to use another SMTP server, you must edit or add the appropriate keys. You can refer to the Spring Boot reference for this or take a look at the MailProperties.
spring:
  mail:
    host: 127.0.0.1
    port: 3025
    username: username
    password: password
    test-connection: true
Mail template
In the same file application.yaml you must configure the access to the SMTP server to send emails. If you want to use the FakeSMTP server configured via the sample you don't need to do more.
We use Thymeleaf to generate an HTML template to send the email using this format. The component that implements the email activity is conveniently configured and therefore all we have to do is create a template and place it in the path src/main/resources/templates. In this example we have created the email.html template for the body and the email.subject template for the email subject
Run
First you must start the docker compose that we supply if you use the included SMTP test server.
# In path: kuflow-components-java/kuflow-worker-sample
docker compose up
Next, you must start the Worker. Normally, you will do this through the IDE. But if you prefer the console line, in the repository root folder type:
./mvnw spring-boot:run -f kuflow-engine-samples-worker-email/pom.xml
If the Worker starts successfully, you will see the following log output.
----------------------------------------------------------
	Application 'KuFlow Engine Worker Sample Email' is running! Access URLs:
	Local: 		http://localhost:null/
	External: 	http://127.0.1.1:null/
	Profile(s): 	[dev]
----------------------------------------------------------
When a connected Worker that implements our example process is registered, in the application we can see how the badge associated with the Workflow Engine field changes from Disconnected to Connected. Finally, users with the appropriate permissions will be able to run a Process that executes the Workflow we have just implemented. To do this, from the non-administrative part of the KuFlow application, we instantiate the process by clicking on the "Start process" button.
Once you have completed all the steps the Workflow will be completed and the email will be sent. You can check this in the FakeSMTP web interface: http://localhost:8082/
Summary
In this tutorial we have shown a practical use case of an activity for sending emails whose implementation is available in the KuFlow open source repositories.
